Licensing
Licensing turns an extension into a paid product without you running any server: you define a plan (what a buyer gets), sell it through your own Stripe Payment Link, and extport handles everything after the payment — issuing the activation code, emailing it, showing it on the checkout success page, verifying activations from the extension, and revoking on refunds.
The model in one sentence: the extension verifies codes online via
@extport/sdk and caches
the entitlement locally — no cryptography in the client, no license
server of your own.
1. Enable licensing and create a plan
Section titled “1. Enable licensing and create a plan”On your extension’s page in the dashboard, open the Licensing tab and enable licensing (this only turns the public verification endpoints on — nothing changes for users until your extension ships licensing code).
Then create a plan. A plan is one sellable tier of one extension:
- Tier — the level the SDK resolves (e.g.
pro).freeis reserved for the unpaid tier. - Max devices — how many devices one license covers (editable later; applies to codes issued from then on).
Activation codes verify against your extension’s id (ext_…) — the
identity is part of the verification contract baked into shipped builds,
so it’s fixed for the life of the extension. The name, in contrast, is
just a label: it never freezes, and renaming it can’t break verification.
The plans table shows a extport_plan=plan_… value per row — that’s the
Stripe metadata you’ll need in step 3.
2. Wire up the SDK
Section titled “2. Wire up the SDK”import { createActivationClient } from '@extport/sdk'import { webextTransport } from '@extport/sdk/webext'
export const client = createActivationClient({ // extensionId resolves automatically when built with @extport/wxt // (extport: { extension: 'ext_…' }); otherwise pass it here: // extensionId: 'ext_…', plans: { free: { records: 100 }, // 'free' is required pro: { records: Infinity }, // tier names = your plan tiers }, transport: webextTransport(),})
// in your UI: activate once, then the plan resolves locallyawait client.activate('XXXX-XXXX-XXXX-XXXX')const plan = await client.getPlan() // { tier: 'pro', limit: … }Call attachBackground(client) (from @extport/sdk/webext) in your
background entrypoint so activations sync across contexts and re-verify
on browser startup. Verification failures caused by network problems
never revoke anything — only a definitive server answer does.
Before touching Stripe you can already test the full loop: issue a license by hand from the dashboard’s Licensing tab and activate it in a dev build.
3. Create the Payment Link
Section titled “3. Create the Payment Link”In Stripe (start in test mode — the Sandbox banner should be visible), create a Payment Link for your product’s price. None of the optional checkout fields are needed; extport only uses the buyer’s email, which Stripe always collects.
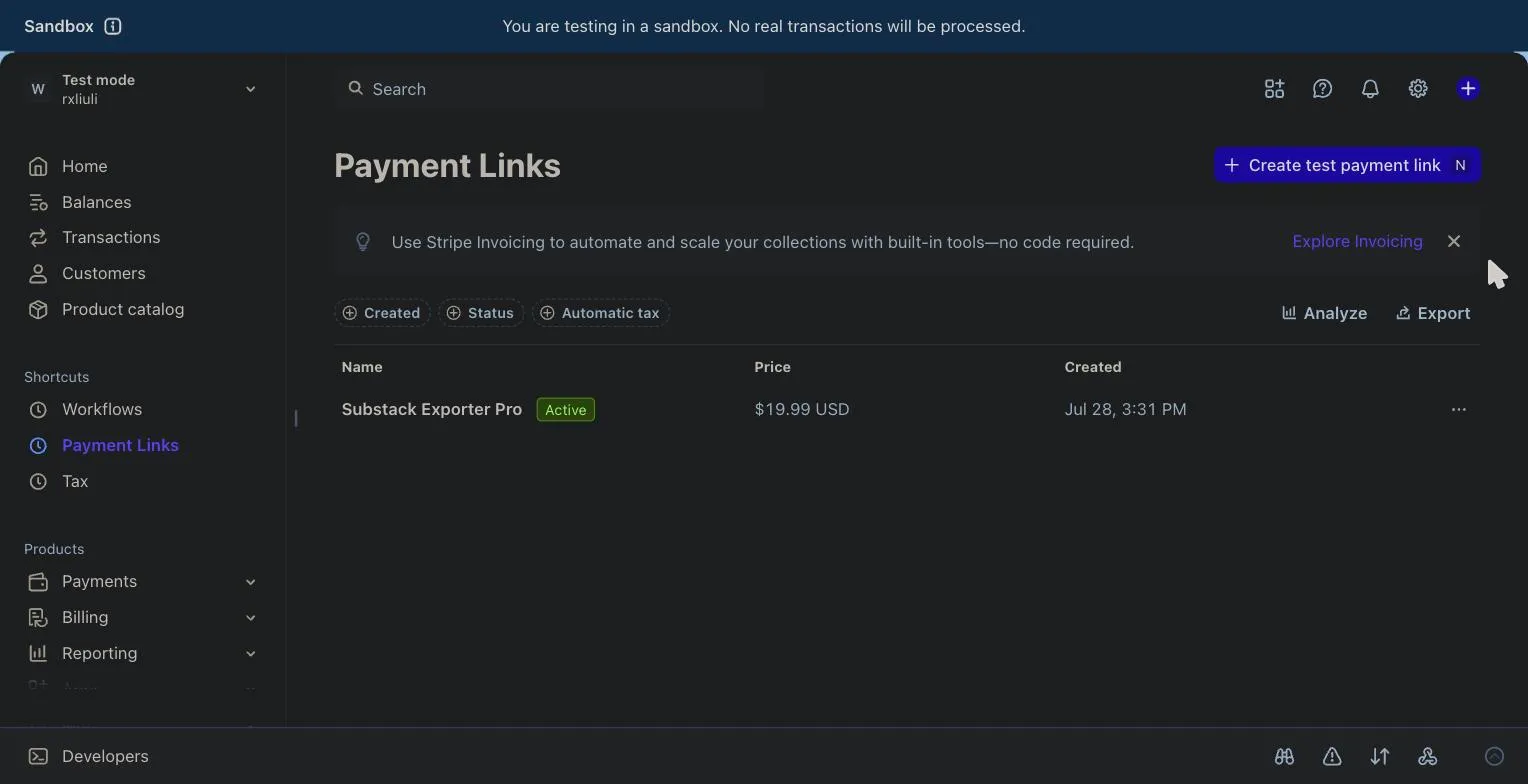
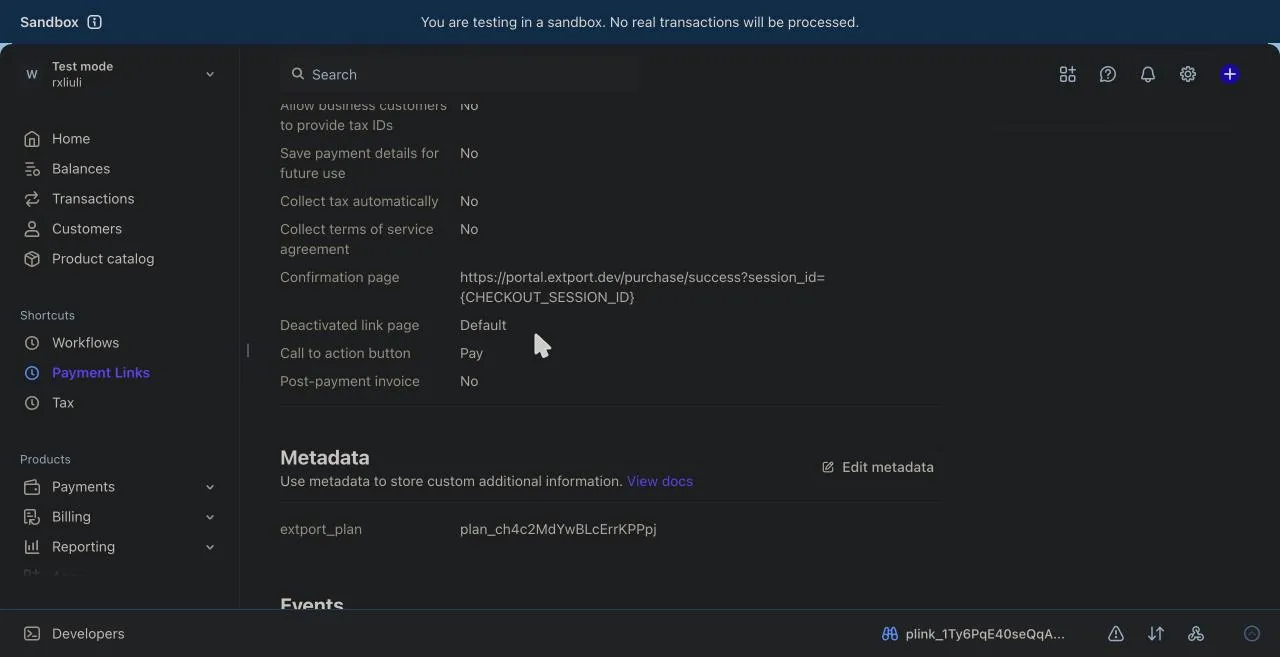
Two settings on the link matter. After payment is part of the creation form itself; Metadata isn’t — Stripe only exposes it once the link already exists, from its detail page:
-
After payment (set while creating the link, or later via edit → After payment tab): redirect to
https://portal.extport.dev/purchase/success?session_id={CHECKOUT_SESSION_ID}so buyers land on a page that shows their activation code the moment the payment settles (
{CHECKOUT_SESSION_ID}stays literal — Stripe fills it in). Skipping this works too — the code still arrives by email — but the redirect is the smoothest experience. -
Metadata (only after creating the link, from its detail page → Edit metadata): add one entry, key
extport_plan, value theplan_…id from your plans table. This is how a payment finds the plan to fulfill — without it, extport ignores the sale.
Enable Allow promotion codes under Advanced options if you use discount codes.
4. Point a webhook at extport
Section titled “4. Point a webhook at extport”In Workbench → Webhooks, add an event destination:
- URL:
https://api.extport.dev/api/v1/licensing/webhooks/stripe/<your tenant id>— the exact URL is shown ready-to-copy in Settings → Payment credentials. - Events:
checkout.session.completed,charge.refunded,charge.dispute.created— the first fulfills purchases, the other two revoke licenses automatically on refunds and disputes. - Payload style: Snapshot (the default).
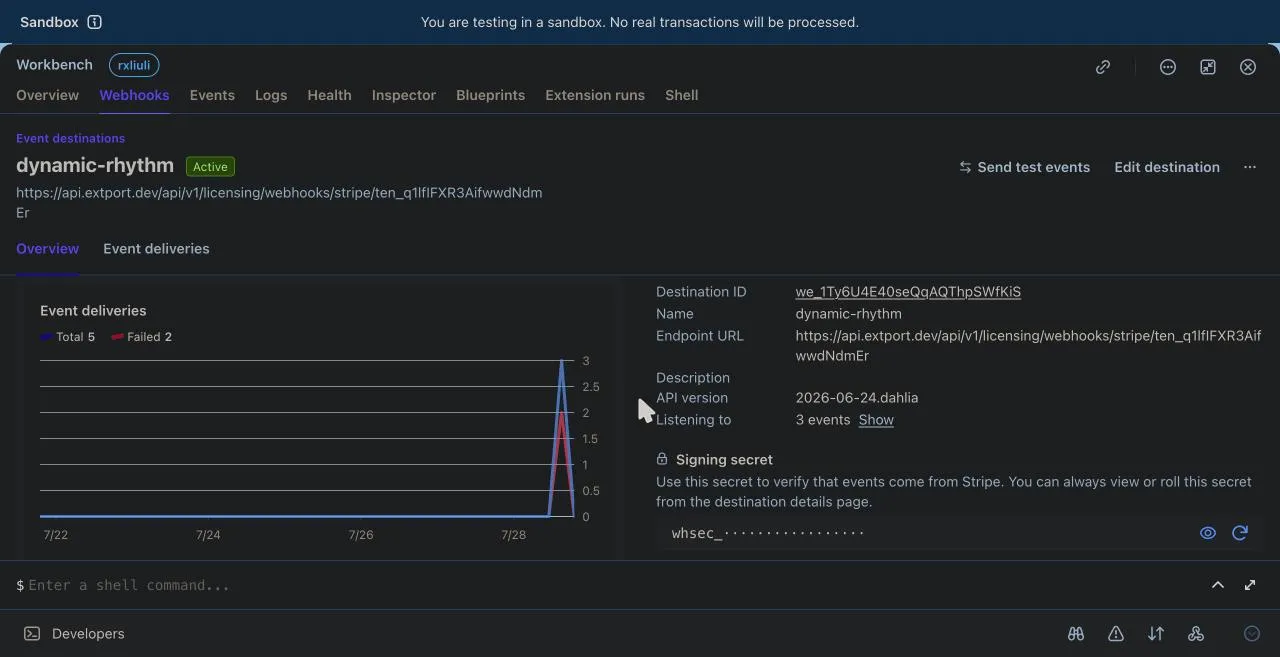
Then copy the destination’s signing secret (whsec_…) into
extport’s Settings → Payment
credentials. The secret is write-only —
extport uses it solely to verify that webhook events really come from
Stripe. Test and live mode have separate secrets; store whichever mode
your sales currently run in.
5. Buy one
Section titled “5. Buy one”Open your Payment Link and pay with Stripe’s test card
4242 4242 4242 4242 (any future expiry, any CVC). Within seconds:
- the success page shows the activation code,
- the same code lands in the buyer’s inbox,
- a license row appears in your Licensing tab (source
stripe), - and the code activates inside your extension.
When you’re ready to sell for real, repeat steps 3–4 in live mode (a new
Payment Link, a new webhook destination, and its live whsec_… replacing
the test one in Settings).
How the rest behaves
Section titled “How the rest behaves”- Refunds revoke. A
charge.refundedor dispute flips the license torefunded; the buyer’s devices lose the entitlement on their next online check. - Seats decay lazily. A device idle for 30 days frees its seat automatically the moment another device wants one — reinstalls never wedge a license permanently. You can also release a seat by hand from the license’s Devices dialog.
- Buyers help themselves. portal.extport.dev lets buyers sign in with their purchase email (magic link, no password) and see every code and device they own.
- Codes outlive everything. Issued licenses keep verifying no matter what plan you’re on — and if verification is ever unreachable, activated devices keep working from local state. The failure mode is always “no new activations”, never “paid features turn off”.